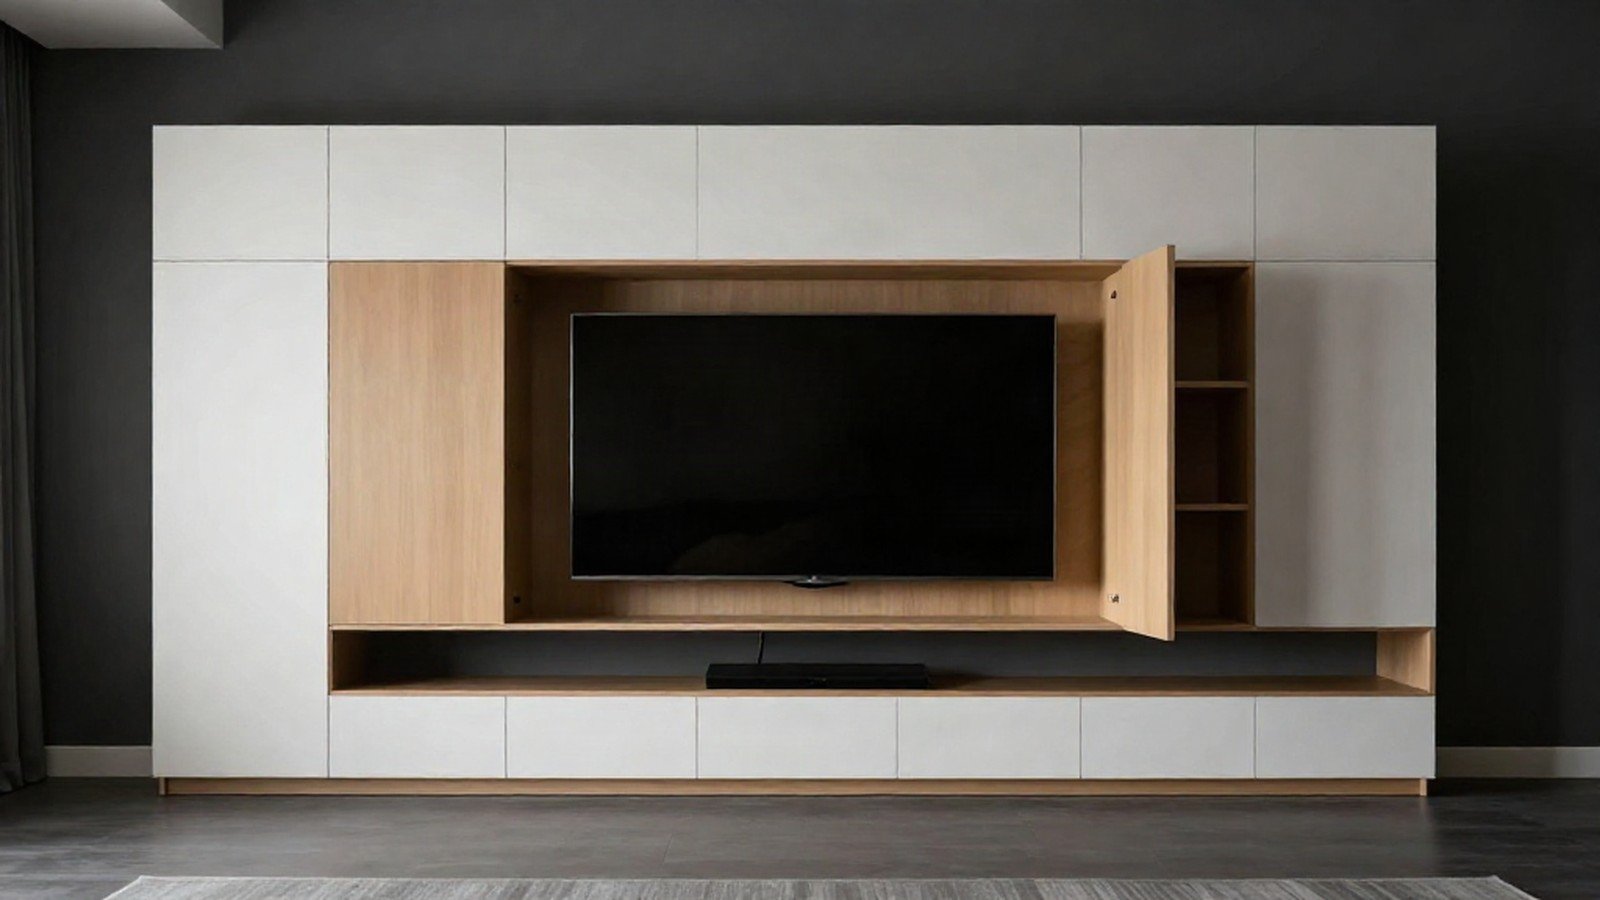
A wall looks fine until you try to hide the cables, the boxes, the router, the remotes and the two consoles nobody wants to see. That is the moment a built-in stops being decoration and starts being a design problem. And it is a problem you can solve on paper before a single panel gets cut.
You measure. We manufacture. That is the whole idea behind this guide. Here is the order to work in so the finished wall looks intentional instead of improvised. It applies to media walls and built-ins anywhere in Miami-Dade, Broward and Palm Beach.
Start with the wall, not the TV
People design these units backward. They pick the screen first, then try to fit cabinetry around it. Flip it.
Walk the wall and answer three questions before you measure anything:
- Where does the power outlet actually sit, and where does the signal come from?
- Which way does the room traffic flow, so you are not opening a drawer into a walkway?
- How much of the wall do you want the unit to own: full width, or one clean block?
A full-width unit reads calmer and holds more hidden storage. A single block on one side of the room uses less material and looks lighter. Neither is wrong. Decide it now, because every number after this depends on it.
Measure twice: the numbers that decide everything
Grab a tape and write down real numbers, not guesses. You need:
- Total wall width, corner to corner, at the floor and at eye level. In older South Florida homes those two numbers are rarely identical.
- Ceiling height, measured at both ends of the wall. Ceilings sag and soffits drop.
- The screen: width, height, and the depth of its mount plus any wall bracket clearance.
- Floor-to-outlet height and the exact outlet position, left to right.
From those, set your clearances. As a starting point:
- Leave 2 to 4 inches of reveal around the screen so it reads as built-in, not wedged in.
- Keep at least 12 inches of counter or shelf depth for a soundbar, media boxes and a plant.
- Allow 18 to 24 inches of depth for the storage run, so a standard storage bin or file box slides in without a fight.
Mark the outlet location on your sketch. That single measurement decides where your cable cavity goes, and getting it wrong means cutting a hole you did not plan for. For the full method, from room measurements to a list a shop can run, read How to Measure for Custom Cabinet Parts: The Cut List Method.
Map the hidden storage before you pick a finish
Hidden storage fails when it is designed last. Draw the compartments before the doors.
Split the run into three zones:
- The cable and equipment cavity. A recessed compartment behind or beside the screen that swallows power bricks, the router and the surge strip. Vent it. Warm electronics need airflow, or you will cook the router you were trying to hide.
- The everyday zone. The drawers or flip-down doors you open weekly: remotes, controllers, chargers, batteries. Push-to-open hardware keeps the front face clean.
- The deep zone. Tall closed sections for the things you touch twice a year: board games, holiday bins, the printer that never earned a desk.
Once those zones exist, the drawer fronts and doors are just a skin over a plan that already works.
Choose panels with South Florida air in mind
This is the step a lot of ready-made units skip. The air in Miami-Dade, Broward and Palm Beach is humid for most of the year, and wood-based panels exchange moisture with the air around them: they take it on, give it off and move a little as they do. You cannot keep the humidity out, so the design has to expect the movement.
Choose for the room, not the showroom:
- Balanced construction. The same laminate on both faces of a panel keeps it flatter when the humidity swings. A door finished on one side only is far more likely to warp.
- Consistent panel thickness across the whole run, so doors align and hinge screws bite. Mixing thicknesses mid-project is how gaps show up.
- Edge quality that matches the face. The cut edge is where cheap work telegraphs. A clean, machine-cut edge on a sound core looks the same as the face once it is banded.
- Tell the shop where the unit lives. Exterior wall, next to the kitchen, under an air handler: say so when you send the list, so the material choice fits the room.
Turn the design into a cut list
This is the step most guides skip, and it is the step that saves money. A cut list is your drawing translated into numbers a shop can run.
For every panel, capture:
- Finished width and height.
- Material, thickness and grain direction.
- Banding: which edges get covered and which stay raw.
- Quantity. Two identical shelves are faster and cheaper than two slightly different ones.
- Any machining: hinge bores, shelf-pin holes, drawer-slide notches.
Sort the list by material and thickness. Batch identical parts. Then double-check one thing: that your panel dimensions plus reveals add back up to the wall width and height you measured. If they do not, fix the list, not the wall. Before anything is cut, it is worth walking through what to confirm on the shop drawings.
Send it to the shop, or order the full RTA kit
Now you have a choice, and both paths start from the same measurements.
Send us the cut list and get the parts back cut to size on our panel saw and CNC router, edge banded and labeled, ready to assemble on site. You keep control of the install, the schedule and the finish, without owning a shop full of equipment. This is how contractors, installers and designers work with us.
Or order a complete custom RTA kit: we design and detail the unit from your measurements, photos and sketch, you approve the drawings before anything is cut, and the parts arrive cut, machined, edge banded, labeled and packed by cabinet. You assemble the boxes on site, or your installer does. All three ways to order, and what to send for each, are in Three Ways to Order Flat-Pack Custom Cabinets.
Either way, you are buying from the people who cut the parts, in our own South Florida shop. Local pickup or delivery in South Florida. And if you would rather hand the whole thing over, full design-to-installation service is also available, for a deliberately small number of projects.
The bottom line
A built-in TV wall unit with hidden storage is not a shopping decision. It is a measuring decision. Get the wall, the screen and the outlet right, plan the hidden zones before the doors, pick panels with the humidity in mind, and put it all on a cut list.
Do that, and the finished wall looks like it was always supposed to be there.
Send my cut list. Bring your measurements or your full cut list and we make the parts. You measure. We manufacture. Message us on WhatsApp, call (754) 308-9135, or email contact@m11designgroup.com.