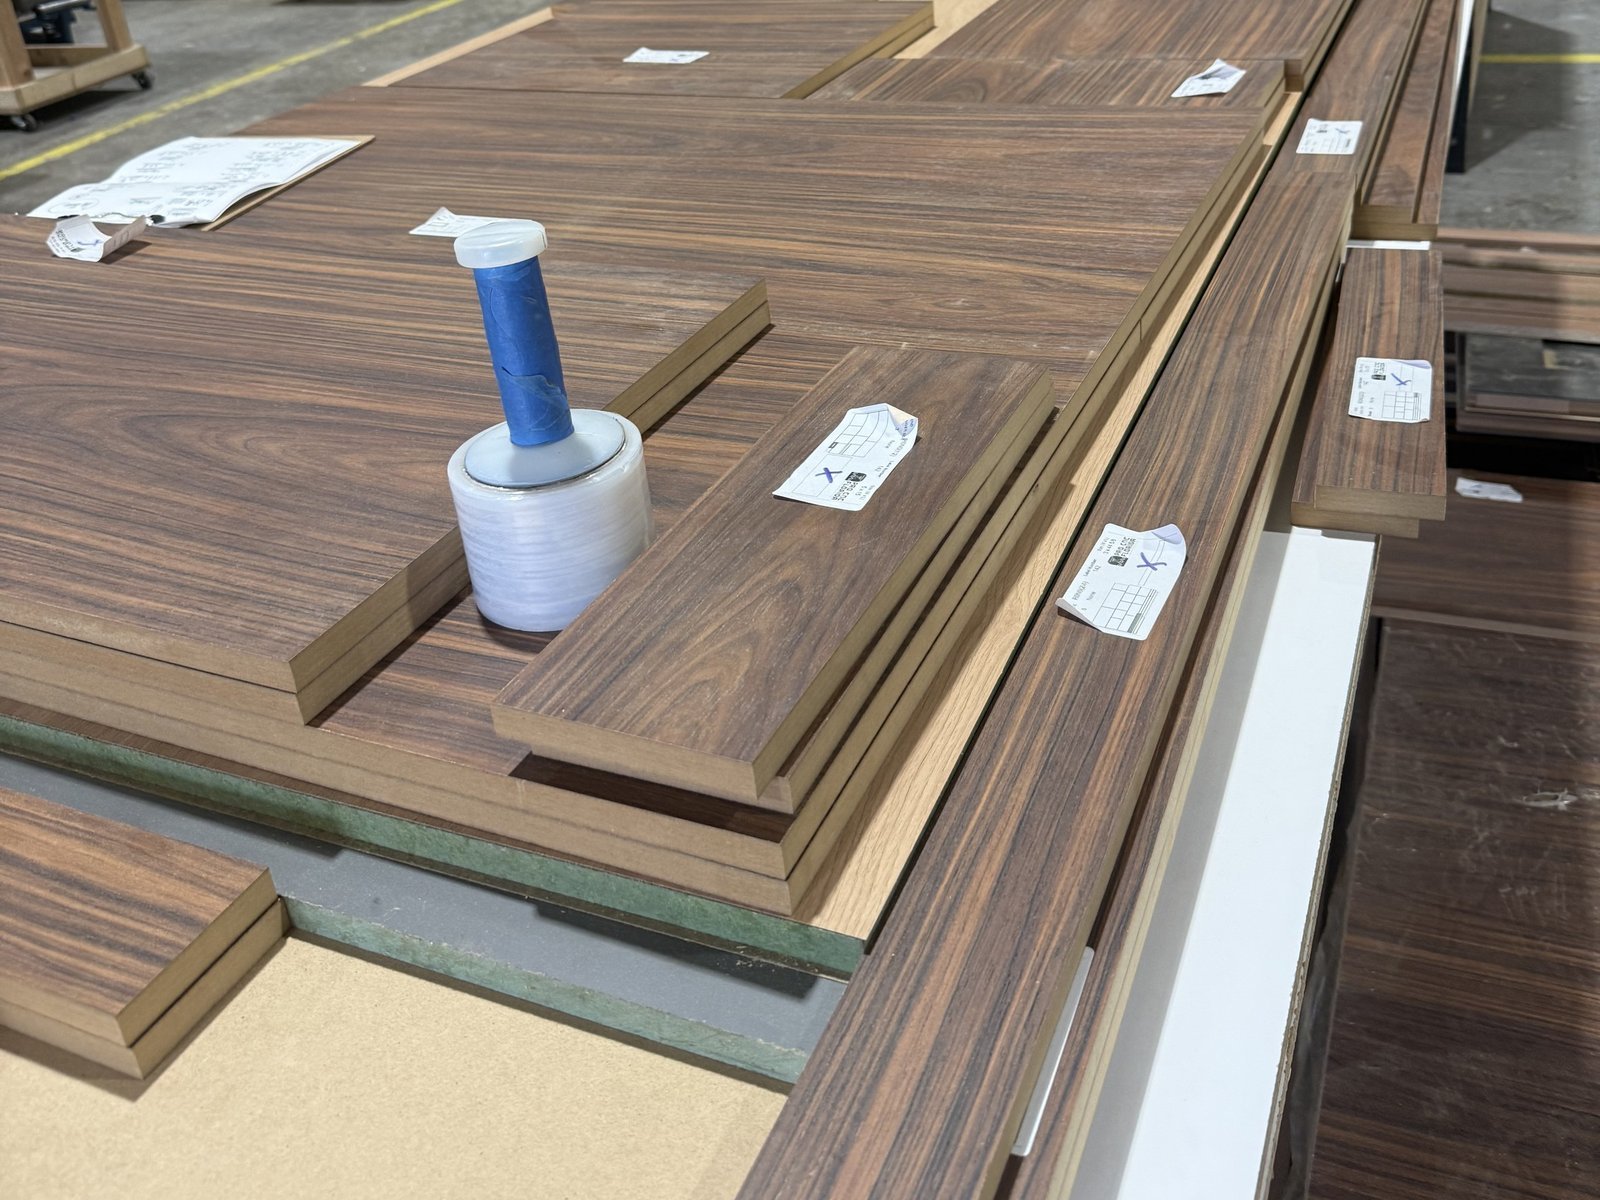
A cabinet order can look complete and still leave the shop with an unanswered question: does the specified depth include the doors? Is the finished end panel inside the overall width? Which edge of each part faces the room?
These decisions matter when a design becomes a set of parts. For designers, contractors, and homeowners ordering custom cabinetry, cabinet shop drawings provide a place to resolve them before cutting begins.
This guide explains how to review that handoff for a U.S. project, from feet-and-inches notation to a cabinet kit your installer can identify and assemble.
Start with three documents that agree
A useful production review brings together the cabinet drawings, the component list, and the selected product information.
The drawings describe the assembled result. The component list identifies the parts needed to build it. Product information supplies the details that depend on the chosen hardware, finish, or equipment. Check that all three describe the same cabinet and the same revision.
For the drawing package, look for plans, elevations, and sections that explain location, construction, and attachment. Materials and hardware should be identified well enough to review what is actually being supplied. These are subjects addressed in the Architectural Woodwork Institute’s AWI 100 submittal requirements. Where a project specifies an AWI standard, review the applicable requirements in full.
During review, try tracing one drawer from the elevation to its parts and hardware information. If you cannot tell which drawer belongs in which opening, the package needs clarification.
Use U.S. measurements without losing manufacturing detail
State the units on every drawing and component schedule. A wall dimension might read 8 ft 0 in, while the corresponding cabinet layout uses 96 in. Both describe the same length; the labels keep that relationship clear.
Fractional and decimal inches can also describe the same dimension. For example, 1/8 in = 0.125 in. Agree on the notation used for production files, and distinguish the precision of a written dimension from the permitted variation in the finished part. A drawing with extra decimal places does not, by itself, establish a manufacturing tolerance.
For a metric source, convert using 1 in = 25.4 mm exactly, as documented by NIST. Do not round a converted dimension merely to make the fraction look familiar. Resolve the required size and tolerance with the shop first.
Keep hardware dimensions in the manufacturer’s specified units when needed. System 32 hardware planning, for example, uses a 32 mm hole-spacing grid. Converting the room drawing to inches does not require rounding that drilling pattern.
Likewise, converting a material dimension does not establish that a different locally available panel is interchangeable. Confirm the actual product before updating the parts.
Example: review a built-in before making its cut list
Consider a hypothetical storage built-in between two finished walls. These dimensions illustrate a review process; they are not a standard cabinet size or a fabrication plan.
| Planning item | Illustrative dimension | Question to resolve |
|---|---|---|
| Width between finished walls | 8 ft 0 in (96 in) | Has the opening been checked at more than one height? |
| Three cabinet boxes | 30 in each; 90 in combined | Does each width exclude separate end panels? |
| Width remaining | 6 in total | How is it allocated among fillers, end panels, and fitting allowances? |
| Overall built-in height | 7 ft 0 in (84 in) | Does this include the base and any top trim? |
| Overall finished depth | 16 in | Does this include the doors, and are projecting pulls recorded separately? |
The arithmetic leaves 6 inches, but it does not decide the construction. A finished panel consumes part of that space. A wall-side door may need room to open past adjacent trim. The left and right allowances may differ.
Resolve that layout before calculating individual panel sizes. Then check the elevation with the doors open as well as closed. The drawing should explain how the cabinet will be used, not only how its front will look.
Give each part a destination
For an RTA order, review the information from the assembler’s perspective. Pick a cabinet ID, such as ST-01, and follow it through the package.
The cabinet’s side panels, shelves, back, and fronts should be distinguishable. Note the reference face, visible edges, and grain direction where applicable. Clarify whether listed dimensions describe the panel before edge banding or the finished component afterward. That distinction belongs in the order agreement.
A plain rectangle can become several different parts depending on which face is drilled and which edge is finished. An annotation such as “left side, viewed from front” can prevent an avoidable reversal. Use the same viewing convention throughout the job.
Before release, ask the shop how part IDs will relate to cabinet IDs and how the package will identify loose fillers, finished ends, and trim. Those pieces need a destination too.
Review the spaces where cabinetry meets something else
Walk through the design as if you were installing and using it. Open the adjacent doors together. Pull the drawer nearest a wall. Check whether a handle projects into another opening. Identify what must remain accessible after the cabinetry is in place.
For kitchens and laundry rooms, use the selected appliance’s installation information to review its opening and service needs. For a vanity, coordinate the actual sink and plumbing arrangement with drawer storage. For integrated lighting, identify the channel, wiring route, and accessible power-supply location with the responsible trade.
On a South Florida condo project, also confirm the delivery route with building management. An assembled section that fits the room still needs to pass through the available doors and elevator. Decide which components arrive separately before packing and delivery are arranged.
These checks work best as specific questions attached to the affected cabinet, with a person assigned to resolve each one.
Make production approval a clear handoff
Keep one identified revision for manufacturing, with its date, cabinet IDs, and resolved review comments. If a finish, dimension, or hardware selection changes, check the affected drawings and component information together.
Before approving the order, confirm:
- Which measurements are field verified and which remain assumptions.
- Who is responsible for resolving outstanding site information.
- What the order includes: cutting, machining, edge banding, hardware preparation, or a complete kit.
- Whether hardware, finished ends, fillers, and trim are included or supplied separately.
- Who will assemble, install, and make any agreed field adjustments.
After delivery, use those same cabinet IDs when reporting a missing part or an adjustment. A photo labeled with the cabinet and part reference is easier to act on than a message saying “the panel on the left.”
How M11 Design Group can help
M11 Design Group manufactures cut-to-size panels, CNC-machined parts, and custom RTA cabinet kits in our South Florida shop. Depending on the agreed scope, we cut, drill, edge band, and label parts for your project. Explore our custom RTA cabinets and cut-to-size services or support for trade professionals.
You can start with measurements, a sketch, photos, or an existing cut list. We review what the shop needs for the work you are ordering. Local pickup and delivery are available in South Florida, serving Miami-Dade, Broward, and Palm Beach.
You measure. We manufacture.
Questions before ordering
Can I request a quote before I have shop drawings?
Yes. Send the information you have and identify what is still undecided. A request for pricing can begin with a sketch; manufacturing requires the dimensions and selections relevant to the agreed scope to be resolved.
Is a rendering enough to manufacture cabinets?
A rendering helps communicate appearance. It usually needs supporting dimensions and construction information to define the parts. Check whether the proposed order includes preparing that information or expects you to supply it.
Does approval mean every site condition has been checked?
Approval should state what has been reviewed. Identify responsibility for field measurements, appliance information, and installation conditions instead of assuming that a signature covers every task.
Send us your project
Share your city, project type, measurements, and preferred scope. Send your project on WhatsApp, call (754) 308-9135, or email contact@m11designgroup.com.
Editorial starting point: Braxio’s guide to cabinetry detailing. This article develops the topic for U.S. cabinet projects with an original example and the technical references linked above.