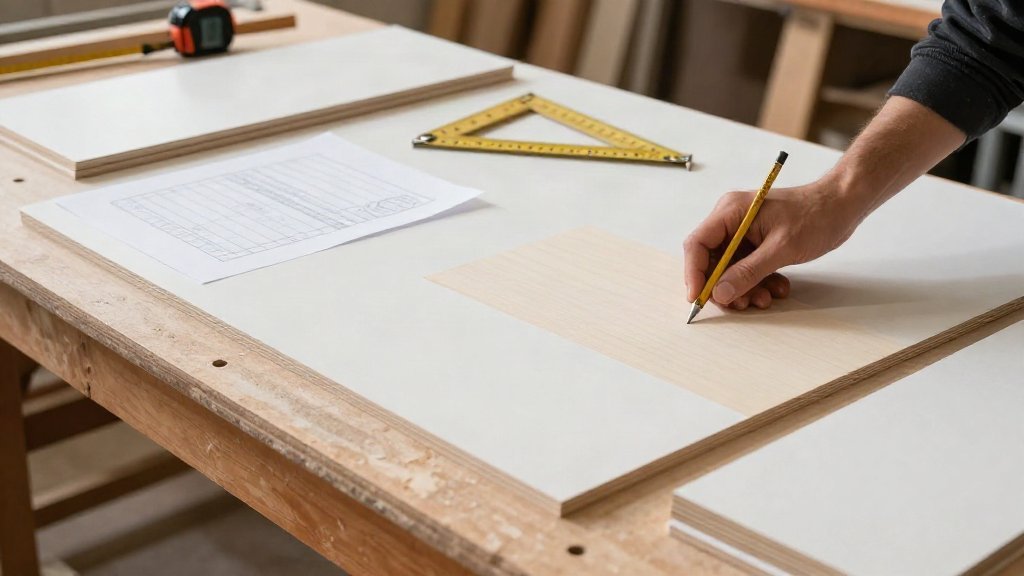
Most custom cabinet projects don’t fail at the saw. They fail at the tape measure.
If you’re building a kitchen, a closet, a vanity or a run of built-ins, the parts only come out right when the numbers going in are right. Get the measurements clean, and a cut-to-size order turns into a kit that goes together fast. Get them sloppy, and you’re paying for panels that don’t fit, waiting on a second run, and losing a weekend to rework.
This is the cut list method we ask for when someone sends us a project – whether it’s a homeowner measuring a first kitchen or a contractor ordering parts for a client. You measure. We manufacture.
Why the cut list is where projects live or die
A cut list is not a rough sketch. It’s a line-by-line order: every panel, its material, its finished size, and which edges need banding or machining. When it’s accurate, the parts are cut to what you actually need. When it isn’t, errors multiply – one wrong number can throw off every panel that depends on it.
The goal is simple: measure the space once, get it right the first time, and order once.
Gather these before you start
You don’t need much, but you do need it all in one place.
- A steel tape measure, 25 feet or longer. Cloth tapes stretch.
- A framing square or a large drywall square for checking corners.
- A pencil and a notebook – or a notes app you won’t lose.
- A small level to check floors and walls for slope.
- A digital distance meter if you have one, as a cross-check on the tape.
- A camera. Photograph every wall before cabinets go in.
Measure in the same units throughout. We work in inches to the nearest sixteenth, and your list should too. Mixing feet and inches mid-list is the fastest way to send the wrong number to the shop.
Measure the space, not your old cabinets
This is the step people rush. Do it in this order.
1. Confirm overall dimensions
Measure the full width of each wall at floor level, then again at the height where your upper cabinets will sit. Walls aren’t parallel as often as you’d hope. If the two numbers differ, use the smaller one for planning and note both.
2. Check the corners
Place your square into each corner. If the gap tells you the corner is out of square, write that down. It changes how filler pieces and end panels need to be cut.
3. Note the things that interrupt the run
Outlets, plumbing, gas lines, vent stacks, window aprons, appliance widths. Every one of them takes usable cabinet space or shifts a box. Measure from the wall to each obstruction, not from one obstruction to the next.
4. Check the floor and walls
Put the level down. If the floor slopes over the run, base cabinets need shimming or a scribed toe kick. If the wall bows, you’ll need filler or scribe strips. Flag it now – not when the boxes are already in your truck.
Build the cut list, panel by panel
Now turn dimensions into parts. For each cabinet, list the components separately:
- Two side panels
- One bottom
- One top or stretchers
- One back panel
- Shelves, each on its own line
- Doors and drawer fronts, each with its overlay noted
- Toe kicks and fillers
For every line, record four things: quantity, material and thickness, length, and width. Mark which edges need banding and which need drilling for shelf pins or hinge cups. If you’re ordering a complete custom RTA cabinet kit, we build the part list from your measurements. On a cut-to-size or parts-only order, your list is the order form.
Check every number against the space measurement it came from. Then check it one more time against the drawing.
The tolerances that actually matter
Small numbers cause big problems. These are the ones to respect:
- Cut size vs. finished size. Edge banding adds roughly 1 mm of thickness per banded edge. Tell us whether your measurements are finished sizes or pre-banding sizes. That one note heads off a large share of reorders.
- One panel standard per cabinet. Don’t mix imperial and metric panel stock in the same cabinet. The sizes are close, not the same, and the gaps show at every joint.
- Diagonal check. On any box, measure corner to corner both ways. If the numbers match, the box is square. If they don’t, the difference is your problem area.
- Reveals and clearances. Keep a consistent reveal between doors and drawers – 1/8 inch is a safe starting point – and allow clearance above and beside appliances.
- Wall slope allowance. If the wall moves 1/4 inch over the run, plan for scribe or filler rather than forcing the box.
Write the tolerance you’re working to at the top of your list. Everyone reading the order needs to know it.
Five mistakes that waste panels
- Measuring the old cabinets instead of the opening.
- Forgetting to specify banding and which edges get it.
- Rounding to the nearest half inch “for safety” – that’s how you get gaps.
- Ignoring outlets, plumbing and vent stacks until install day.
- Not writing down finished vs. raw sizes.
Each one of those costs a panel, a delay, or both.
What to send when you’re ready
Your cut list doesn’t need to be pretty. It needs to be complete: dimensions, quantities, material and thickness, banding and machining notes, and photos of the space. Add a marked-up sketch if you have one. The clearer the list, the faster it moves from order to cutting.
Send us your measurements, a sketch or a cut list. We cut, machine, edge band and label the parts in our own South Florida shop – as cut-to-size panels, machined components, or a complete custom RTA cabinet kit that is ready to assemble. Contractors and designers can see how we work with the trade on our For Trade page. Full design-to-installation service is also available, for a deliberately small number of projects.
You measure. We manufacture. Send your cut list on WhatsApp or call (754) 308-9135.